How to Install Docker on Windows 11
 Asyraf Wahi Anuar
Learn to install Docker Desktop on Windows 11 using the WSL 2 backend, from enabling virtualization to running docker run hello-world to verify your setup.
Key takeaways
- Docker Desktop on Windows 11 uses the WSL 2 backend to run Linux containers without traditional virtual machines.
- Enable hardware virtualization in BIOS/UEFI if Task Manager shows Virtualization as Disabled.
- Run wsl --install in an admin terminal to enable required features and install Ubuntu by default.
- Verify the installation by running docker run hello-world, which prints a success message.
- Turn on WSL Integration under Settings > Resources and cap CPU and RAM under Resources > Advanced.
Tech stack
- Docker
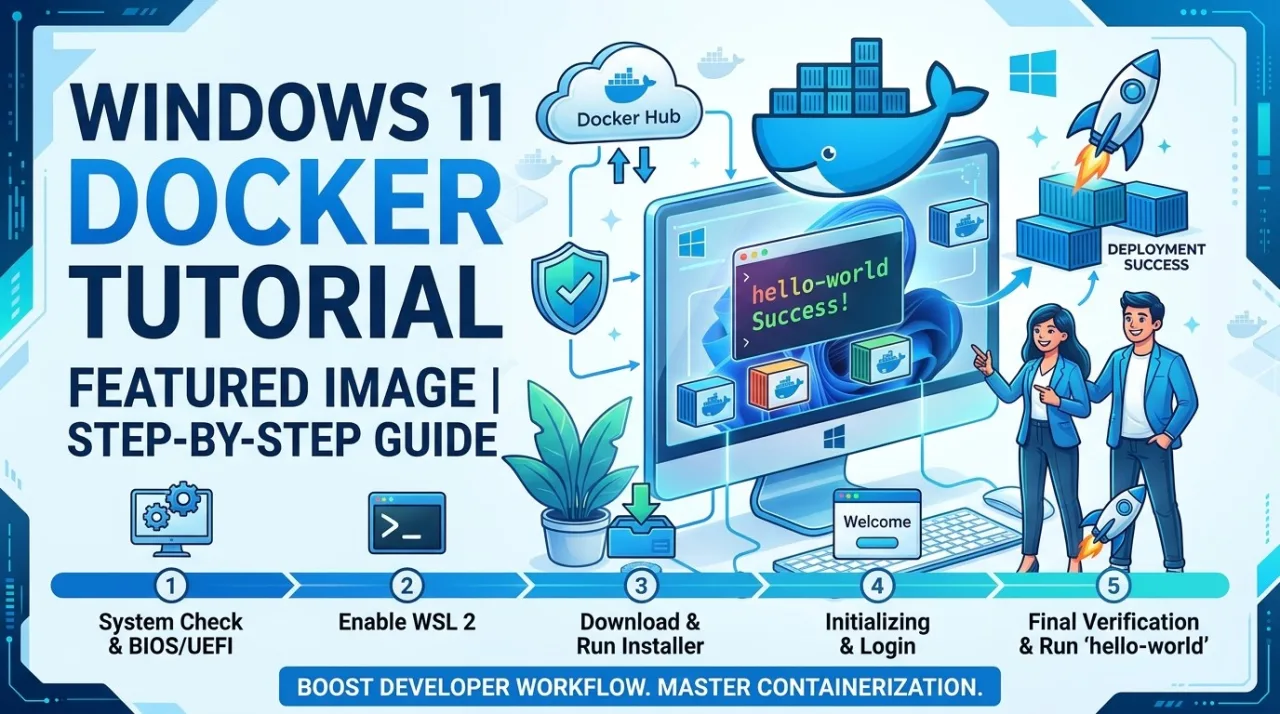
Docker Desktop is the fastest and most reliable way to get up and running with containerized applications on Windows 11. Powered by the WSL 2 backend (Windows Subsystem for Linux), Docker runs lightweight, near-native Linux containers directly inside Windows without the performance heavy-lifting of traditional virtual machines.
This guide covers everything you need from verifying your system requirements to running your very first container.
Prerequisites & System Requirements
Before downloading anything, ensure your PC meets the baseline hardware and software conditions:
Operating System: Windows 11 (64-bit: Home, Pro, Enterprise, or Education).
Hardware Virtualization: Must be enabled in your PC’s BIOS/UEFI.
Memory: At least 4 GB of system RAM (8 GB or higher is strongly recommended).
Step 1: Verify Hardware Virtualization
Open Task Manager
(Ctrl + Shift + Esc).Click on the Performance tab on the left, then select CPU.
Look at the bottom-right information panel for Virtualization.
If it says Enabled, you are good to go.
If it says Disabled, you will need to restart your computer, enter your motherboard’s BIOS/UEFI settings during boot (usually by pressing
F2,F12, orDel), and toggle Intel VT-x or AMD-V / SVM to Enabled.
Step 2: Install and Enable WSL 2
Docker Desktop relies on WSL 2 to execute Linux containers. Setting this up takes a single command.
Right-click the Start menu and select Terminal (Admin) or PowerShell (Admin).
Run the following command:
Plain text wsl --installVerification: This command turns on the required Windows optional features, downloads the latest Linux kernel, and installs Ubuntu by default.
Restart your computer to complete the installation.
Once your PC restarts, a terminal window will automatically pop up asking you to create a Linux username and password. Follow the prompts to finish setting up your WSL environment.
Step 3: Download Docker Desktop
Head over to the official Docker Website and download the Docker Desktop for Windows installer (.exe).
Save the file (roughly ~900 MB) to your local Downloads folder.
Step 4: Run the Installer
Double-click the downloaded Docker Desktop Installer.exe file to run it.
When the configuration window appears, make sure the following options are checked:
Use WSL 2 instead of Hyper-V (Recommended)
Add shortcut to desktop (Optional)
Click OK and let the installer extract files and configure the components.
Once completed, click Close and restart to finalize the setup.
Step 5: Launch and Configure Docker Desktop
After your PC boots back up, launch Docker Desktop from your Windows Start menu.
The Docker Subscription Service Agreement window will appear. Read through the terms and click Accept.
(Note: Docker Desktop is free for personal use, educational purposes, non-commercial open-source projects, and small businesses with fewer than 250 employees and under $10 million in annual revenue.)
You will be prompted to sign in with a Docker Hub account. You can sign in if you have one, or simply click Continue without signing in to start using it right away.
Give it a minute to initialize. Once the whale icon in your Windows system tray turns steady green, Docker Desktop is up and running.
Step 6: Verify the Installation
Let's test if everything is communicating properly by launching a test container.
Open your standard terminal app (PowerShell or Windows Terminal).
Run the following official verification command:
docker run hello-worldVerification: Docker will automatically pull a lightweight test image from the cloud, run it in a container, and print an informational success message saying: "Hello from Docker! This message shows that your installation appears to be working correctly."
Recommended Next Steps & Pro Tips
Enable WSL Integration: Open Docker Desktop settings (the gear icon ⚙️), navigate to Resources > WSL Integration, and make sure integration is toggled on for your installed Linux distributions (like Ubuntu). This allows you to run Docker commands smoothly directly inside your Linux terminal windows.
Resource Management: If you notice high memory usage on your system, go to Settings > Resources > Advanced inside Docker Desktop to cap the maximum amount of CPU cores and RAM allocated to the WSL 2 virtual machine.
Did this tutorial help?
1 reader found this helpful
Comments
No comments yet. Questions about this tutorial are welcome here: the answer helps the next reader too.