Installing Ubuntu Server 26.04.1 LTS & Essential Docker Stack
 Asyraf Wahi Anuar
Key takeaways
- Install Ubuntu Server 26.04.1 LTS from a Rufus-flashed USB, choosing the default server type and enabling OpenSSH server.
- Harden SSH with key-based authentication and disable PasswordAuthentication in /etc/ssh/sshd_config.
- Configure UFW with default deny incoming, allow outgoing, and allow OpenSSH before enabling the firewall.
- Install Docker Engine via the get.docker.com script and add your user to the docker group.
- Deploy Portainer, Dockhand, Uptime Kuma, and Beszel for container management and system monitoring.
Tech stack
- Ubuntu Server 26.04.1 LTS
- Docker
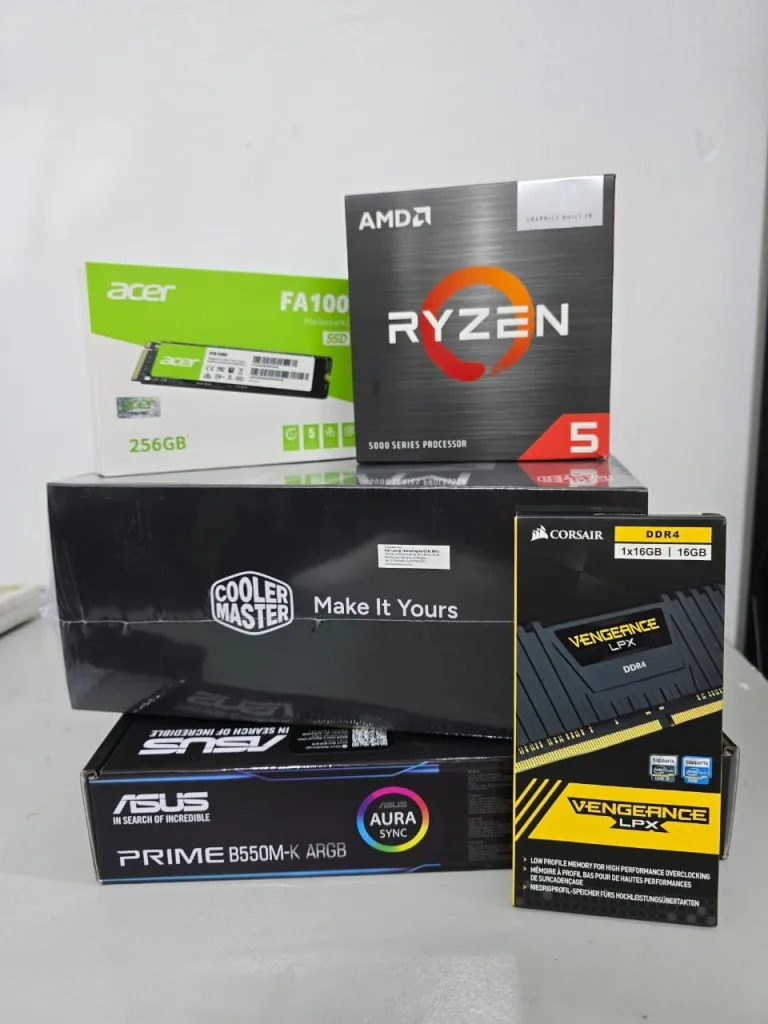
In the first part of this series, "Building a Low-Cost, Whisper-Quiet Home Server: The Hardware Breakdown," I covered the physical build and component choices. With the hardware assembled and powered on, the next step is breathing life into the machine.
For a home server meant to run 24/7 with minimal maintenance, stability and resource efficiency are non-negotiable. This guide covers installing Ubuntu Server 26.04.1 LTS, securing the base operating system, and deploying the core container management and monitoring stack.
1. Preparing the Bootable Media with Rufus
Unlike desktop operating systems, Ubuntu Server skips the graphical user interface (GUI) entirely, saving precious RAM and CPU cycles for workloads.
Download the ISO: Grab the Ubuntu Server 26.04.1 LTS ISO image from the official Ubuntu website.
Flash with Rufus: Plug a spare USB pendrive (at least 4GB) into a Windows workstation and launch Rufus.
Device: Select your USB pendrive.
Boot selection: Click SELECT and load the Ubuntu Server 26.04.1 LTS ISO.
Partition scheme: Set to GPT (for modern UEFI motherboards).
Target system: Set to UEFI (non-CSM).
File system: Leave as FAT32.
Write the Image: Click START. If prompted between ISO Image mode and DD Image mode, select Write in ISO Image mode (recommended) and wait for completion.
2. Installing Ubuntu Server 26.04.1 LTS
Insert the USB drive into the home server, boot into the BIOS/UEFI menu (usually F2, F11, or Del), and select the USB drive as the primary boot device.
Language & Keyboard: Select English and confirm your keyboard layout.
Installation Type: Choose the default Ubuntu Server (avoid the minimized version unless you are comfortable manually installing basic CLI utilities later).
Network Connections: Ensure the server detects your Ethernet connection. Pro tip: Assign a static IP reservation for your server's MAC address in your router's DHCP settings so its local IP never changes.
Storage Configuration: Select Use an entire disk on your NVMe SSD. I recommend unchecking "Set up this disk as an LVM group" if you want straightforward, full-capacity partition allocation right out of the box.
Profile Setup: Enter your name, server hostname (e.g., homeserver), username, and a strong password.
SSH Setup: Check Install OpenSSH server. This is critical so you can disconnect the monitor and keyboard after installation and manage everything remotely.
Featured Server Snaps: Skip everything on this screen. We will install Docker manually using the official APT repository to ensure we get the latest upstream updates rather than Snap-packaged versions.
Once the installation finishes, remove the USB drive and hit Reboot Now.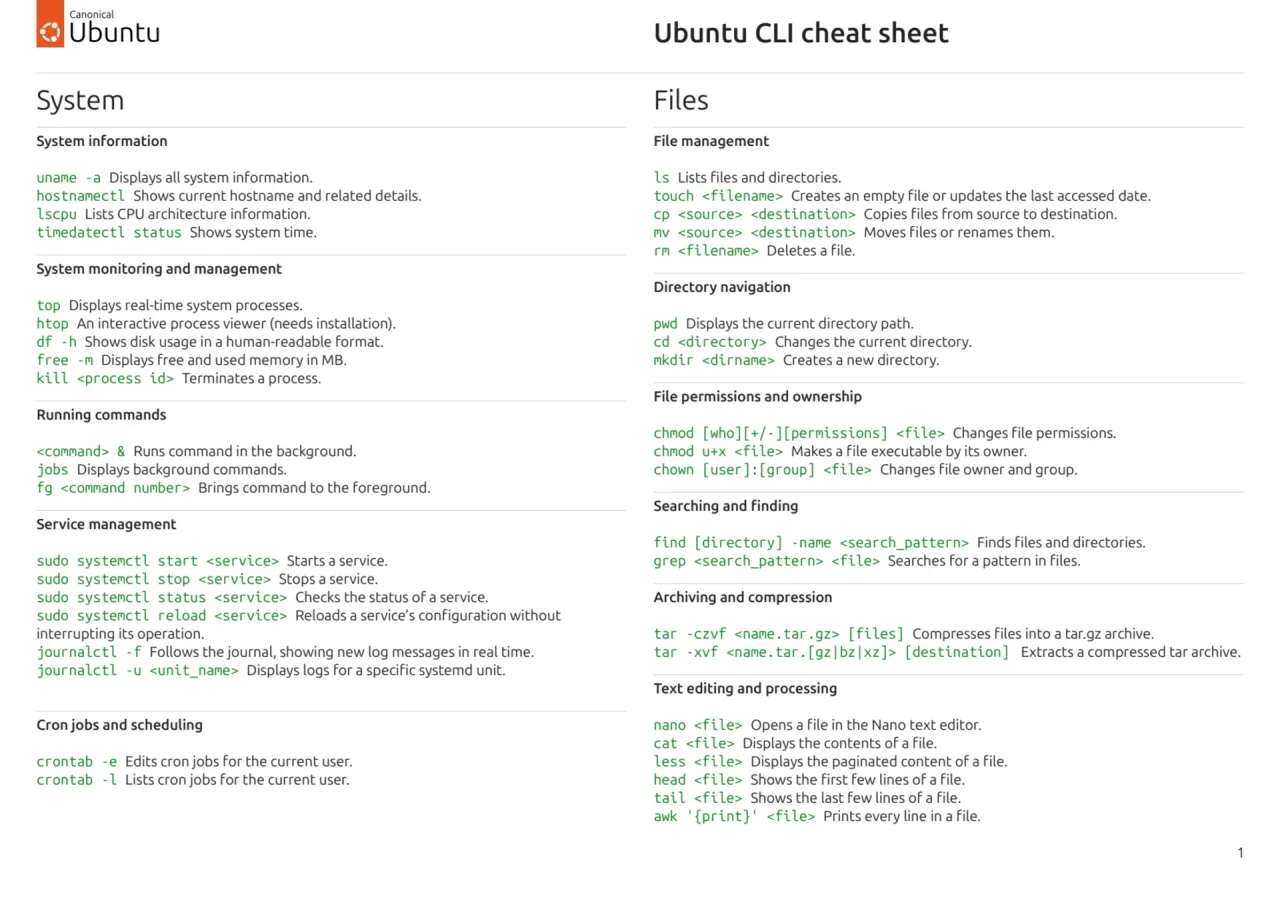
Figure 1: Ubuntu CLI cheat sheet
3. Initial Security: SSH & Firewall (UFW)
After logging in via SSH from your main computer (ssh username@your-server-ip), update the system packages first:
sudo apt update && sudo apt upgrade -ySSH (Secure Shell)
Function: SSH provides an encrypted command-line tunnel to remotely control a server over the network. Once configured, the server runs completely "headless" (no monitor, keyboard, or mouse attached).
Hardening: Switch from password-based authentication to SSH key-based authentication (ssh-copy-id username@your-server-ip) and disable password logins in
/etc/ssh/sshd_config(PasswordAuthentication no) to eliminate the risk of brute-force attacks.
UFW (Uncomplicated Firewall)
Function: UFW acts as the server's gatekeeper, blocking all incoming network traffic by default except for the specific ports you explicitly allow.
Setup: Always allow SSH before enabling the firewall so you don't lock yourself out:
sudo ufw default deny incoming

sudo ufw default allow outgoing

sudo ufw allow OpenSSH

sudo ufw enable
4. Installing the Container Engine: Docker
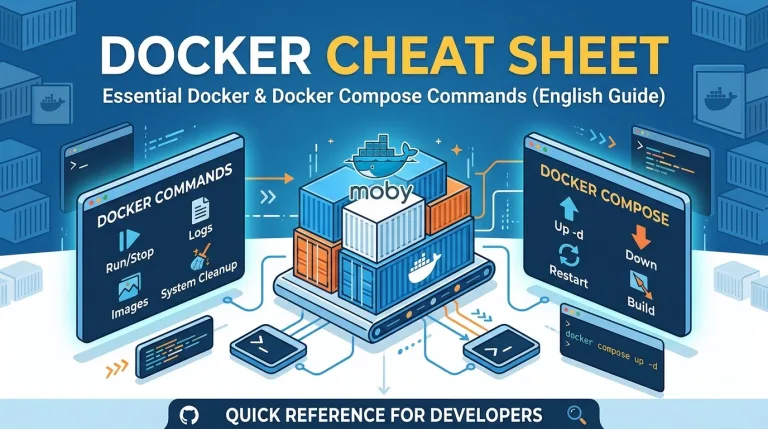
Docker & Docker Compose
Function: Docker packages applications and all their dependencies into isolated, lightweight containers. Instead of cluttering the host OS with conflicting libraries, every service runs cleanly in its own sandbox and can be spun up, updated, or torn down in seconds using declarative docker-compose.yml files.
Setup: Install Docker Engine using the official convenience script or repository:
curl -fsSL https://get.docker.com -o get-docker.sh
sudo sh get-docker.sh
sudo usermod -aG docker $USER
(Log out and log back in for the group permissions to take effect.)
5. Management & Monitoring Stack
With Docker running, I deployed four core tools—each serving a distinct operational purpose—to manage containers and monitor system health.
Tool | Primary Role | Key Benefit |
Portainer | Full-featured Docker GUI | Visualizes containers, images, volumes, and networks; great for quick debugging and stack deployments. |
Dockhand | Lightweight Docker UI | Fast, modern web interface focused on streamlined container control and Compose management. |
Uptime Kuma | Service & Endpoint Monitor | Pings web apps, ports, and containers; sends instant alerts (Telegram/Discord/Email) on downtime. |
Beszel | System Resource & Hardware Monitor | Lightweight dashboard tracking CPU, RAM, disk I/O, temperatures, and per-container resource usage. |
Portainer
Function: Portainer gives you a comprehensive web-based control panel for your Docker environment. While writing docker-compose.yml files in the terminal is great, Portainer makes inspecting container logs, opening interactive console shells, pruning unused images, and checking virtual network bridges effortless.
Dockhand
Function: Dockhand complements the workflow as a sleek, modern, and responsive web UI tailored for fast day-to-day container management. It strips away enterprise bloat to give quick access to container states, environment variables, and Compose stacks with minimal overhead.
Uptime Kuma
Function: Running self-hosted services is only useful if you know they are actually online. Uptime Kuma is a self-hosted monitoring tool (similar to UptimeRobot) that continuously checks HTTP(S) endpoints, TCP ports, and Docker containers. If a service crashes or an SSL certificate is about to expire, it sends immediate notifications directly to your phone.
Beszel
Function: While Uptime Kuma tells you if a service is up, Beszel tells you how hard the hardware is working. Built with a tiny resource footprint, Beszel monitors host metrics—CPU load, RAM consumption, NVMe disk usage, network throughput, and hardware temperatures—alongside historical charts for individual Docker container resource usage.
What's Next?
With Ubuntu Server 26.04.1 LTS locked down and the core Docker management and monitoring foundation in place, the server is officially ready for real workloads. In the next post, I'll cover setting up reverse proxies and secure external access so these services can be reached safely from anywhere without exposing raw ports to the internet.
Did this tutorial help?
0 readers found this helpful
Comments
No comments yet. Questions about this tutorial are welcome here: the answer helps the next reader too.